Unless you have spent a tad more in an Epilog laser, wich then makes me wonder why are you reading this (apart from having a laugh at my problems), many people say that you loose the engraving option once you change the hardware to a cheap one, however that is not entirely true. You still have a pair of tricks… (OR you can use Kcam’s built in BMP converter wich I just discovered. XD!)
Vector images:
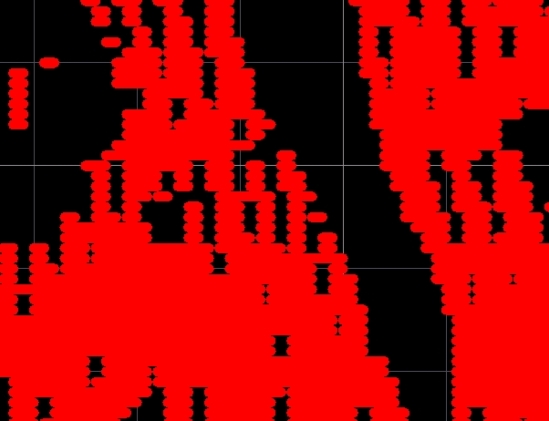
For vector images, fill solid the areas to be engraved, then convert those polygons to horizontal lines with apropriate spacing (like the ones in CAD drawings). -Explode- , remove unwanted lines (probably the original vectors that made the outline) and there you go, a raster engraving of your drawing. As each laser is different, you must explore the spacing in order to achieve best results, for me it worked at around 0,1/0,2mm.
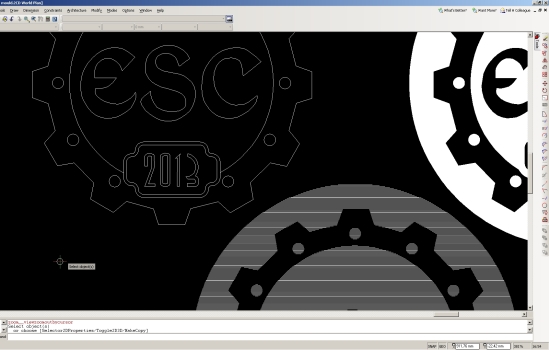 That was a cookie mold for Eurosteamcon 2013
Pros: It’s free. It works.
Cons: depending on your program, it might create artifacts, partial or repeated lines, or not fill the whole area at once, requiring of you to repeat the process in smaller areas.
B/W Images:
As far as I know, there is only propietary software to do that. Moshidraw did it, Epilog does that, and they work pretty well so far. (do you recognize the movie? XD!)
So, is there no hope? It is, if you have tons of patience and don’t mind somewhat convoluted ways.
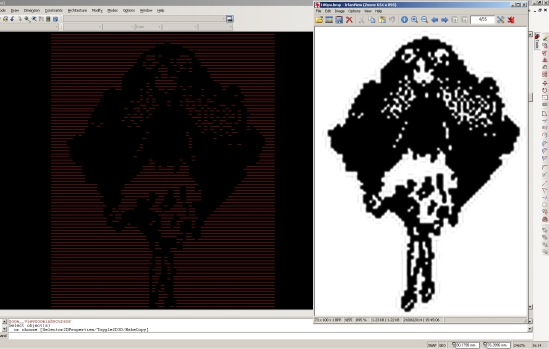
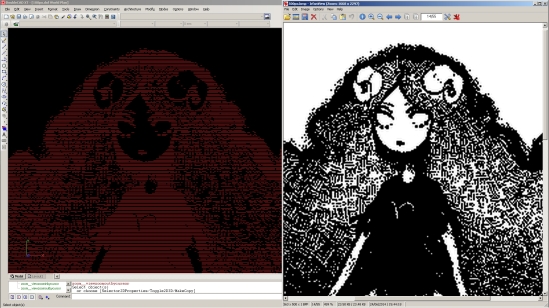
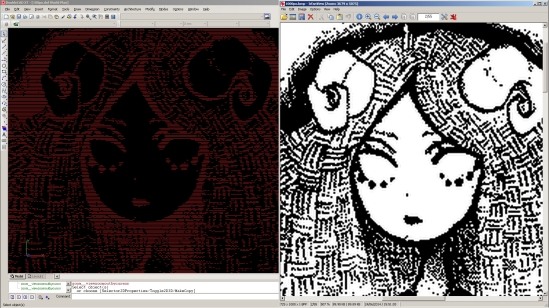
You know, Altium does have a small little script to create logos. It does convert black and white BMP’s into horizontal vector lines in whatever layer you choose. It also does it in an horizontal fashion, just the right vector for the lightest part of the laser to do the work (you WANT to engrave with the X axis so the Y, wich is heavier, doesn’t do much work). The drawbacks is that resolution is dependent on image size. So, it’s not the same converting a 100px image than a 1000px image.
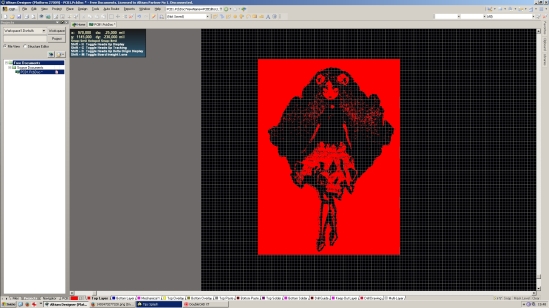
Now we have a rasterized image just like we were going to do a PCB.
Next thing is to convert this to DXF. Altium doesn’t do that directly, but can convert first to gerber, then to DXF. However, if you try very big images, it might give you a “Film too small” and won’t convert from the PCB to gerber, and anyhow, if you have to engrave more than say, solid fill of 150x150mm you’re just wasting your time. It can be done, but well…it will take AGES, seriously.
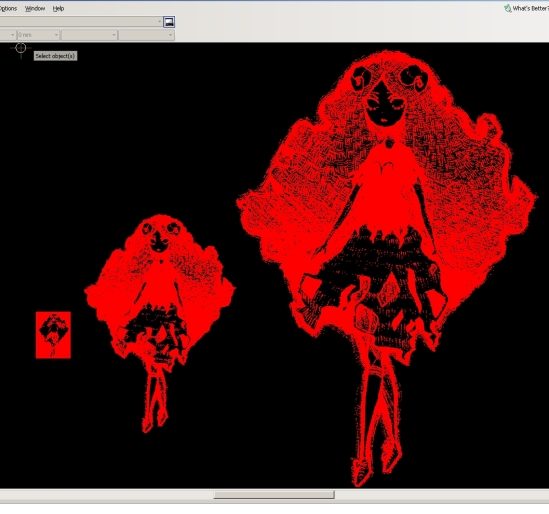
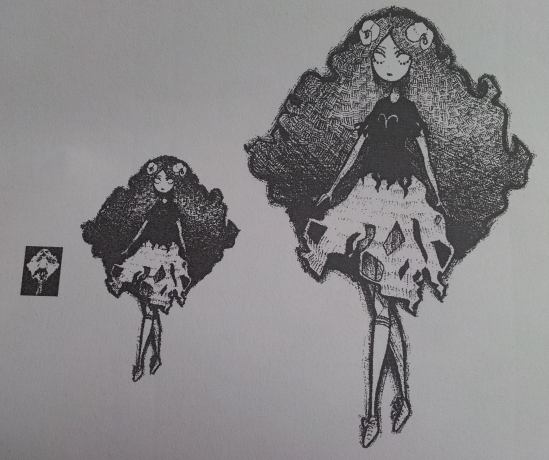
The following are 100, 500 and 1000px images to vector. At 4mils per pixel conversion, it gives us 10, 50 and 100mm image height at 0,1mm (0,1016) line separation. Denser than that and the laser will just waste your time and material.
Let’s get a closer look at each one:
100px (10mm)
500px (50mm)
1000px (100mm)
But, okay, now you have downconverted the images to lines, how will it look? Let’s print the DXF’s so we get a slight idea:
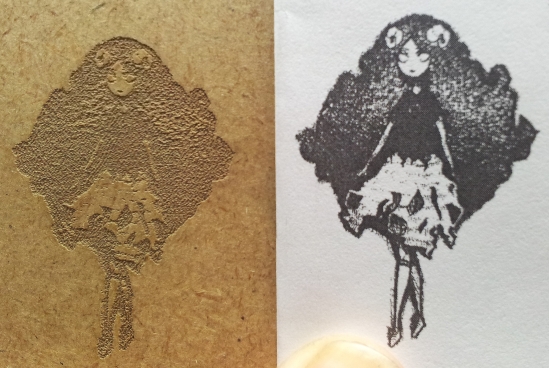
Frankly, not bad at all. Even the 500px one looks acceptably good, doesn’t it? Now onto the laser, let’s see what we get with the 500px one:
Yeah, that’s probably the most extreme example you will try with this technique. Anything that is less than 3 pixels wide, will be lost, so be careful. As an afterthought, the laser has about 0,25mm width, wich is more or less 3 pixels wide at 0,1mm/px…so, if we engrave the big 1000px one, it should look better, shouldn’t it?
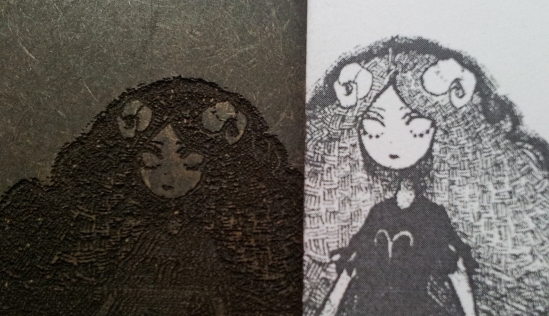 Spraypainted black and rubbed with a rag to increase contrast in the wood.
Meh…probably I’m just picking up a graphic too complex. Just look at the hair… Let’s try a simpler drawing:
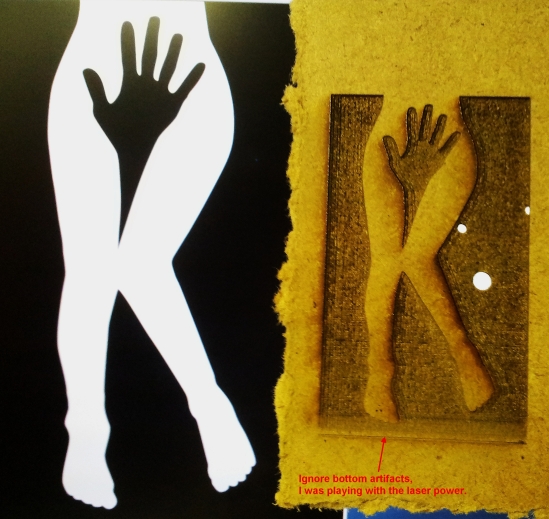
I like this picture a lot, erotic or not.
Not bad at all. I think the material I’m doing the tests isn’t the best choice…that, or my new laser tube doesn’t work well. I must investigate further. Anyhow, the method works more or less.
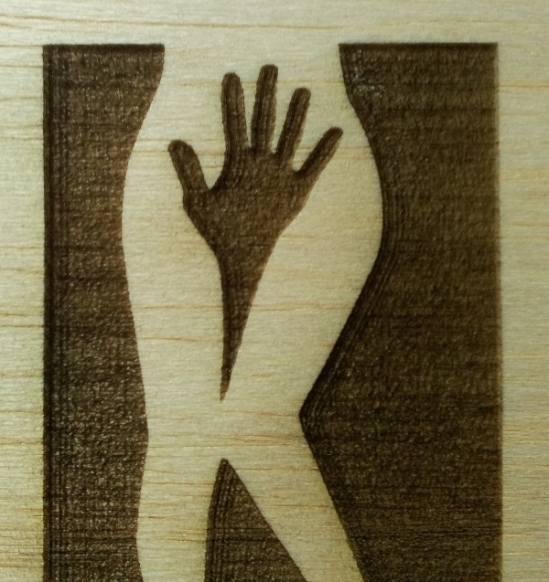
Same engraving on balsa wood. Looks nice, doesn’t it?
NOTE: the vectors are not optimized on the X axis, so the head will travel back and forth a bit, not like it will wander around like a mad dog, but you will nottice it. It will induce vibrations, so put a weight or secure somehow the smaller pieces you want to do.
Pros: It somewhat works, just don’t pick an image like the one I tried.
Cons: It’s very convoluted, I wish there was a program to do this right away and output DXF’s for us to engrave.
