(I lost some of the aluminium machining pics, so I used the stainless steel ones, wich look practically the same).
Rough cut:

Interrupted cut:

Changing from aluminium to stainless is a pain in the ass, believe me.
For the aluminium, I machined a groove in the mill:

At first I thought that keeping the seals captive was the best option:

However, as good as the milling looks, it wasn’t as mirror finish as I would like, leading to leakage problems.

After thinking a lot about how to polish it, I came to the conclusion that the outside lip was just giving me problems, so I ended removing it, wich also made polishing the resulting flange surface a breeze.

Back to stainless:

Once the disc was at size (125mm, just 2mm wider than the seals), the side flange was cut:

At this point, the disc is finished, but a rough surface is really not desirable for the inside of a vacuum chamber.
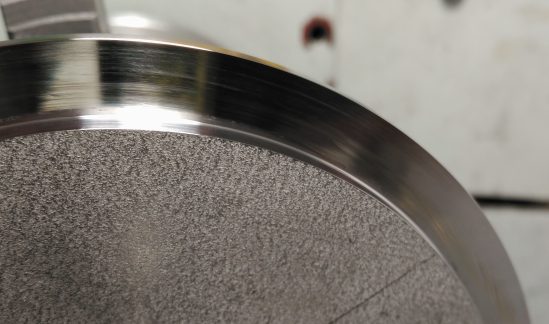
Since the disc was held with double sided tape only (tailstock for outside machining) I really, really, carefully trimmed the surface (0,02mm passes), then polished it too.

Once that was done, some viton rubber seals where cut. Viton is not super flexible, so your chamber walling needs to be fairly flat in the edges (Mine isn’t and requires some persuasion to start pumping down, then it goes fine).

I also use two viton o-rings to keep the glass bell centered, just in case.

Looks frikin’ legit, IMO.
Forgot to adress something. Why change from aluminium to stainless?
KF16 (and all other KF joints, for that matter) come mostly in stainless steel, especially weldable connectors like this:
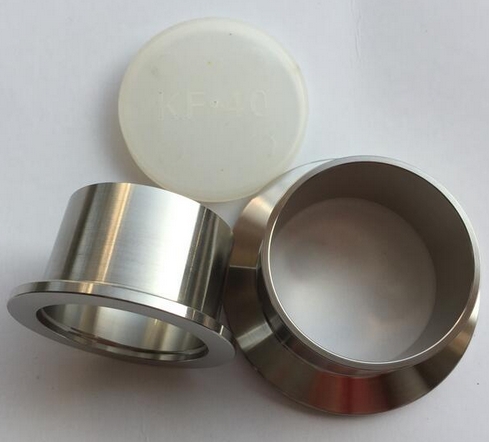
I bought one before finding a stainless supplier, but even then, for the cost (I think it was 8€) I much prefer to just buy and save machining time/inserts/material. Altough I have material from wich I could have machined an aluminium adaptor, welding aluminium is a pain in the ass, compared to stainless, iron and similar, so, even if having found a cheap place to buy stainless stock, I just went for that (buying the piece).
For the first tests with the aluminium plates, I used an M8 to 1/4SAE adaptor and connected one of the plates to the refrigeration vacuum pump, and on the top plate, turned a recess to put the magnets as close to the vacuum wall as possible:

The glass bell is a 100mm ID borosilicate, 5mm thick, beer machine viewport. I know many people just use canning jars or whatever glass encasings they can find.
And at first I considered it too, because I could not find any supplier of borosilicate tube in bigger enough size (that was affordable). One day as I was about to go to sleep, I just gave internet a last go, and lo and behold! I found one homebrew beer supplier that sold them at a decent price.
In the photo they have square edges, but mine came with them flame polished, wich is not bad either.

And where does all that sit?
In a BEKVÄM table, of course. It seems to be the go-to support for things like this, and other stuff.

And that is mostly it, next time, HV power supply (2Kv).
See ya!


